Filawinder Wall Mount

Filawinder Digital Fabrication 3dprinting Design 3d Printing
Best Way To Modify The Filawinder To Accompany Larger Spools Page 1 Filastruder Soliforum 3d Printing Community
Best Way To Wall Mount Filastruder V2 0 And Filawinder Page 1 Filastruder Soliforum 3d Printing Community
Filawinder Collections Technoswift Thingiverse
2

Remixes For Filawinder By Ianjohnson Thingiverse

Here are mechanical assembly instructions for the filawinder on thingiverse.
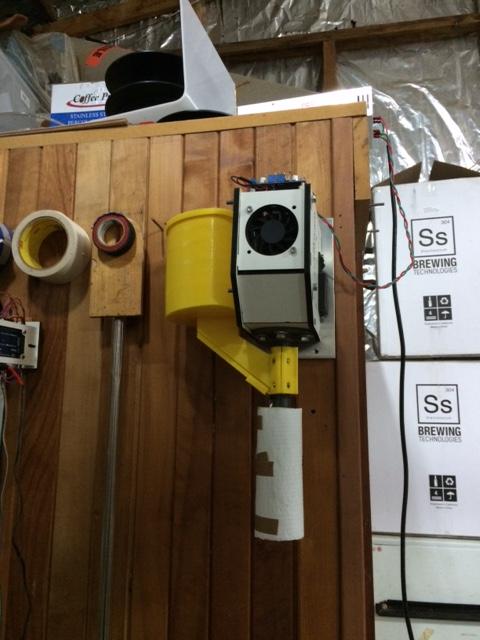
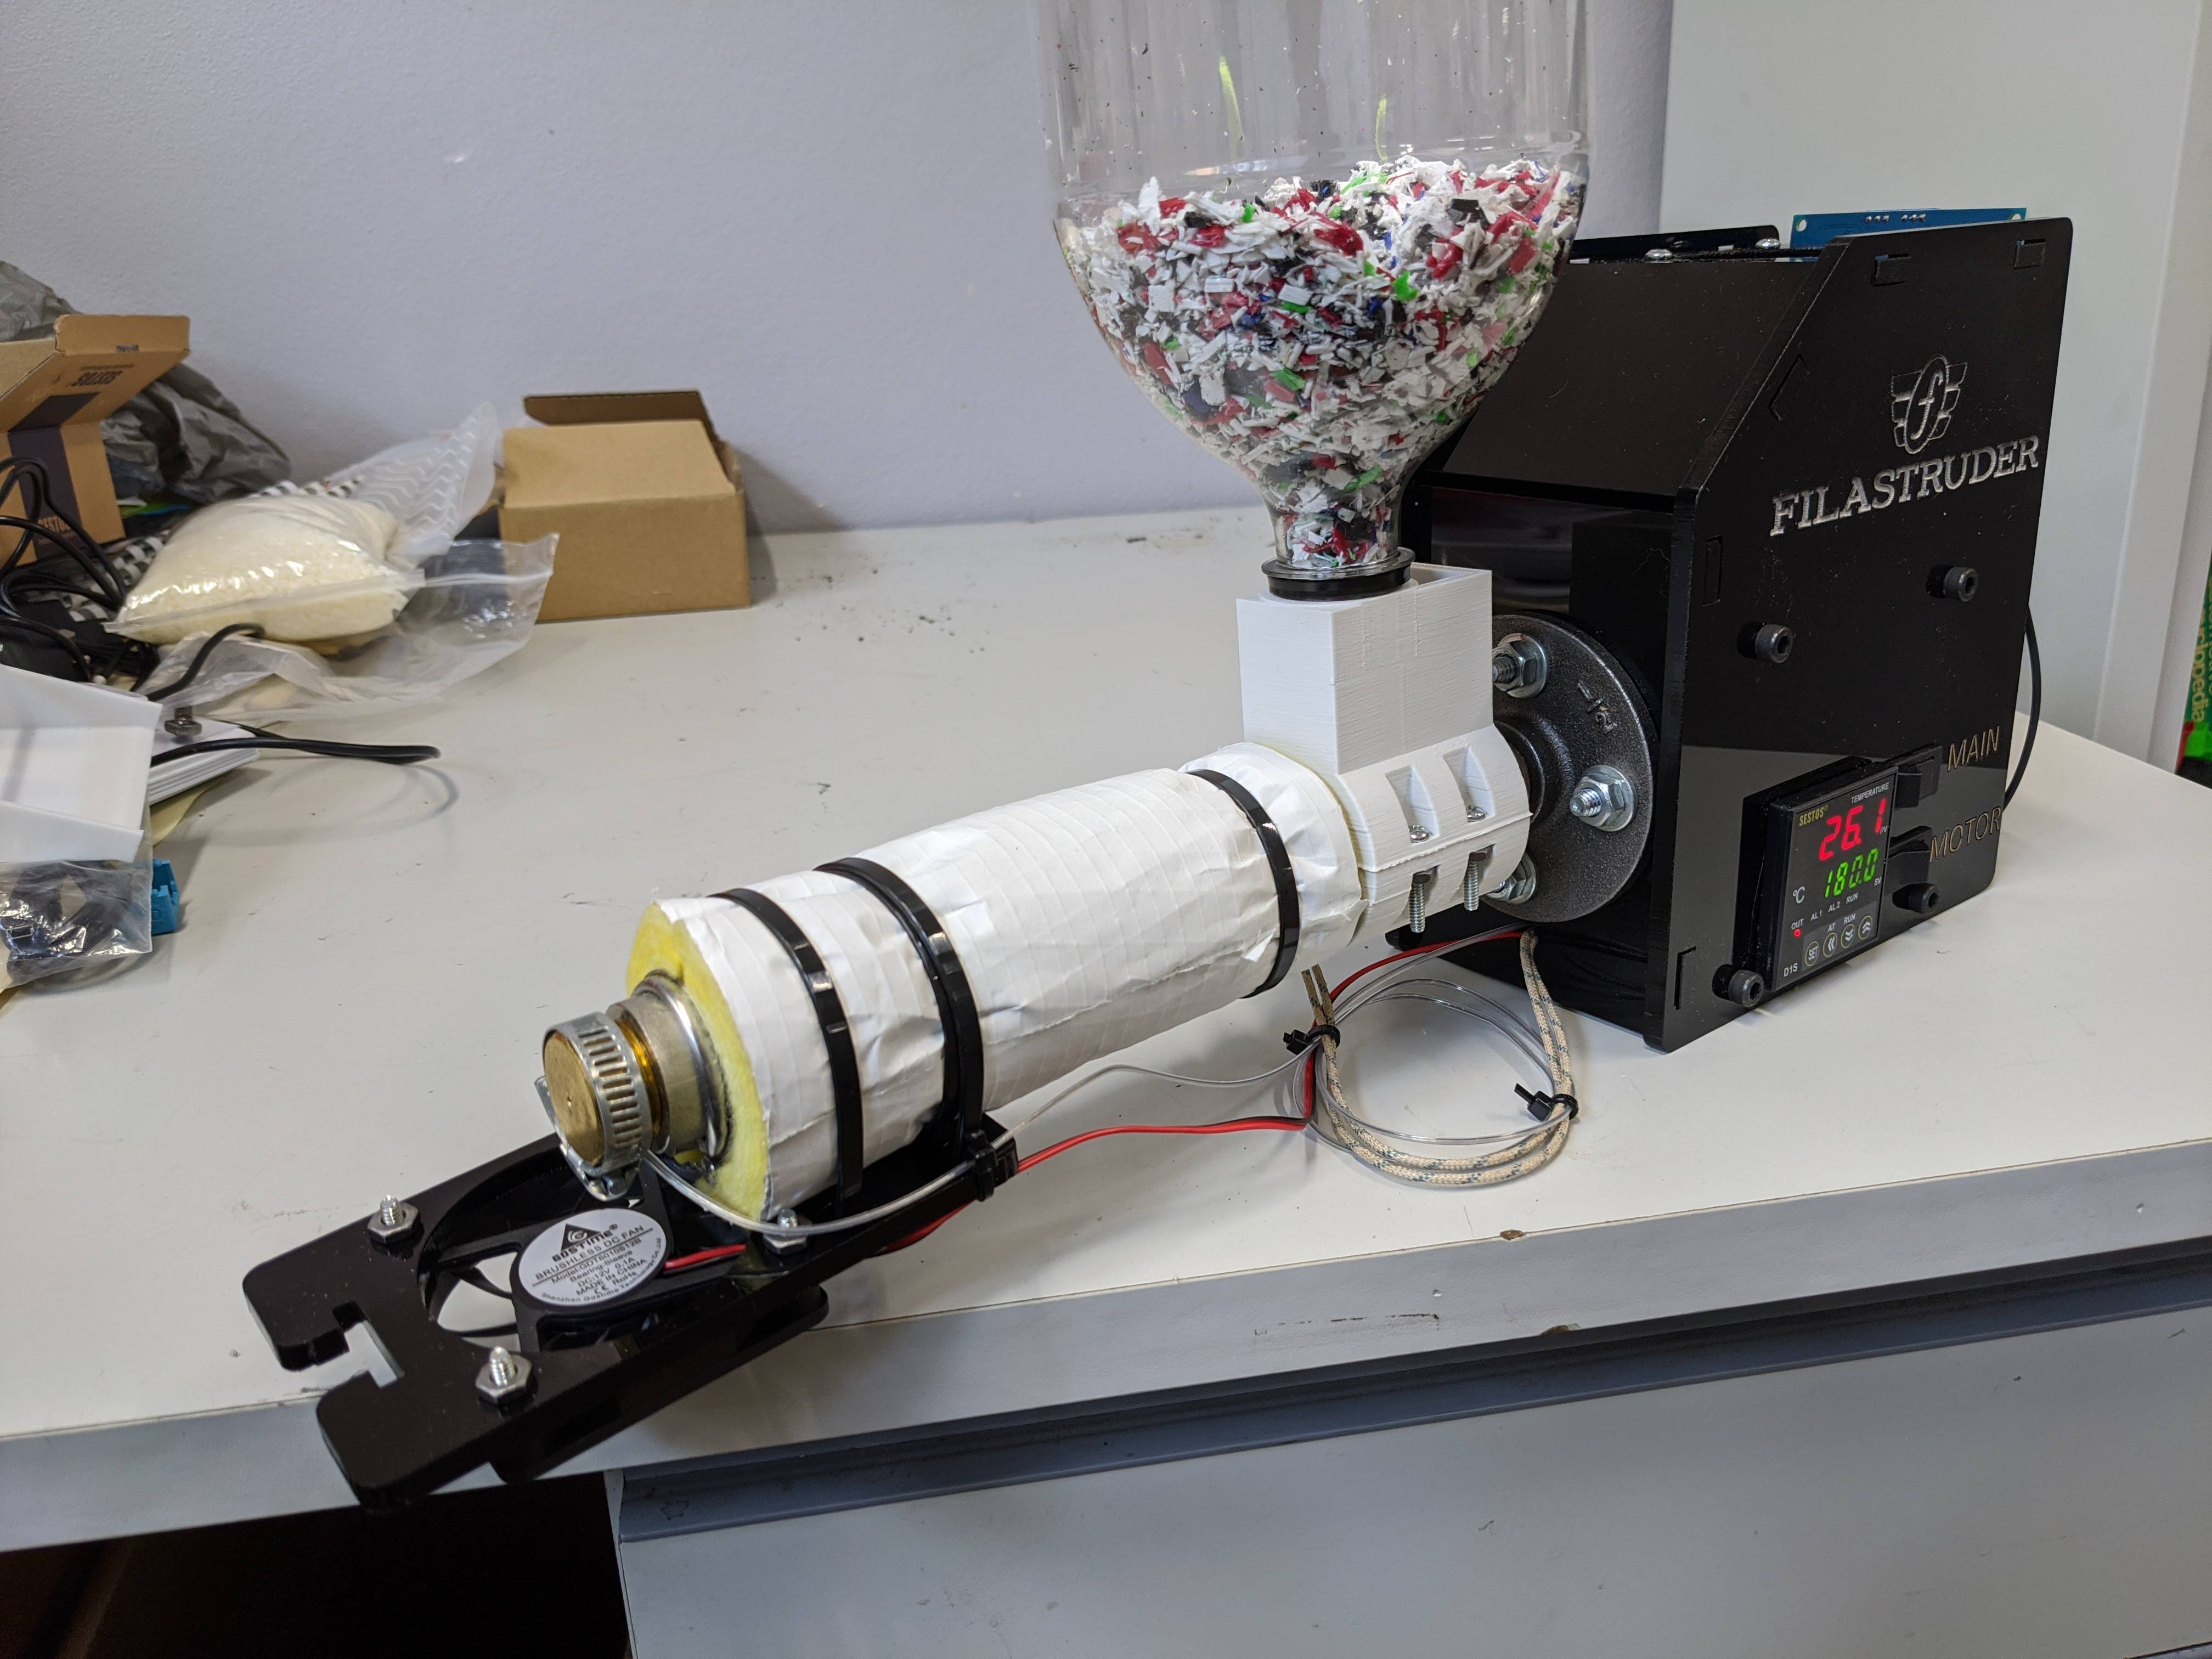
Filawinder wall mount. The filament intake can be mounted vertically or horizontally. Updated version of the filawinder firmware originally by ian johnson jelleb filawinder. Mount the filastruder and filawinder on a wall on a shelf or on a workbench to keep your filament production out of the way. Use 2 m3x12 to mount the gear motor in the slots at.
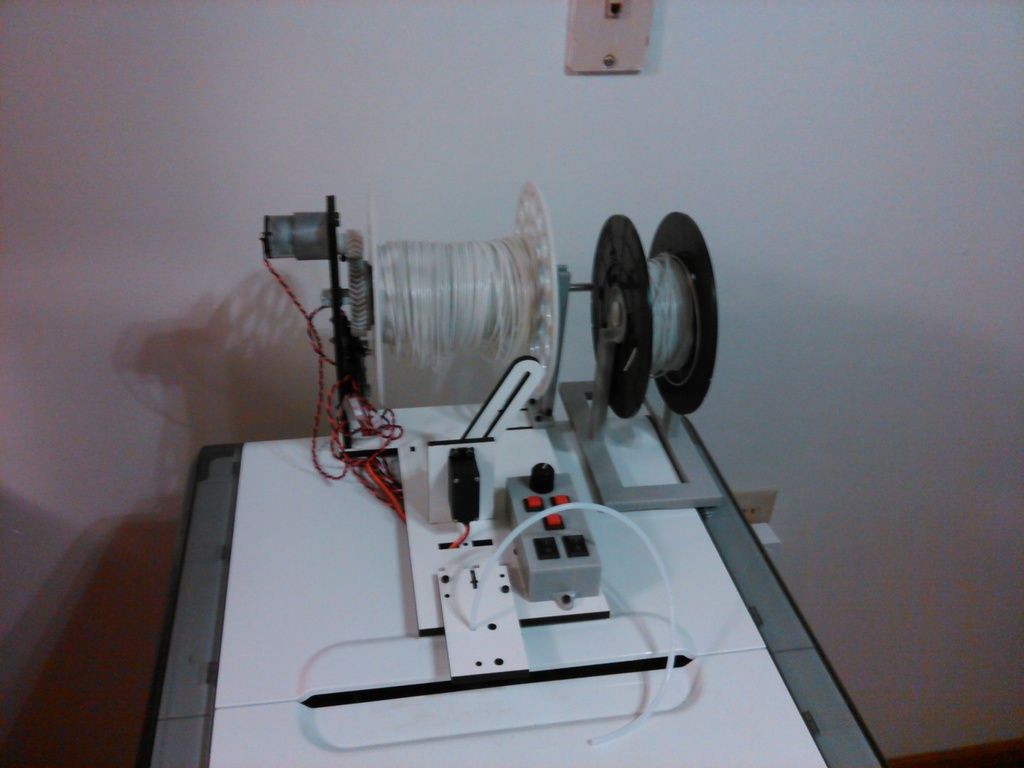
The filament follows a steady unchanging path from extruder to winder making it easy to produce professional quality filament for hours without worry. Mount the filastruder and filawinder on a wall on a shelf or on a workbench to keep your filament production out of the way. The current assembly and operation instructions are posted here. The filament follows a steady unchanging path from extruder to winder making it easy to produce professional quality filament for hours without worry.
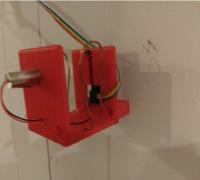
Use m3x16 screws to mount the board horizontally if the winder will lay flat as on a shelf. Mount it vertically if the base of the wider will be mounted to the wall or otherwise positioned vertically. Helpful links filawinder thingiverse page. Filawinder improved wall mounted sensor by universaljoint is licensed under the creative commons attribution non commercial license.
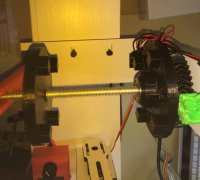
The bom stls board files schematic files and more are available there. Filawinder assembly part 1 duration. The mount is clamped between the motor and the rear housing of the extruder it can be rotated in 90 degrees increments in order to mount the extruder according to your needs mounting holes in the bottom flange is 4 2 mm in diameter. Putting together the motor mount electronics and servo.
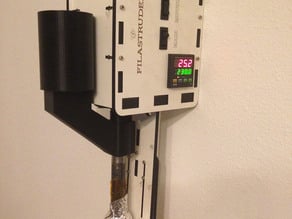
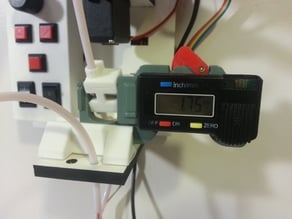
Vertical spacing is 18 0 mm and horisontal spacing is 50 0 mmweight.
Filament Extruder Collections Sychev Thingiverse

Things Tagged With Filawinder Thingiverse

Filawinder Documentation Page 11 Filastruder Soliforum 3d Printing Community

Filawinder Stlfinder
Filawinder 3d Models To Print Yeggi Page 2

Using A Filastruder Filament Extruder And Filawinder

Filawinder Base For Wider Spools By Sellandbuyx Thingiverse

Lyman Cardboard Filament Spool Stlfinder

Fully Assembled Filastruder Https Boltron Co Product Fully Assembled Filastruder 3d Printing Mechanical Design Basic Hand Tools

Filament Spool Support 3d Models To Print Yeggi

Expermenting With New Filament Winder Concept Page 1 Filastruder Soliforum 3d Printing Community
Filastruder Kit Gallery Pictures Of Filastruders In The Wild Page 7 Filastruder Soliforum 3d Printing Community
Thickness Gauge Template Stlfinder